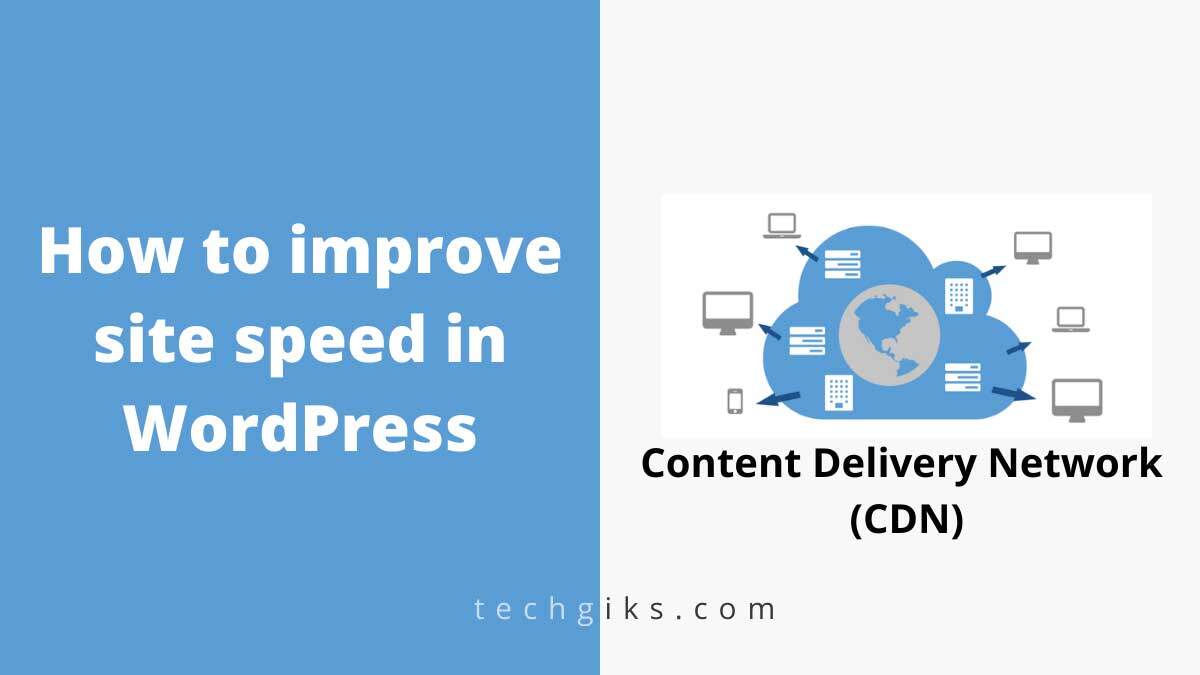
How to improve site speed in WordPress
How to Improve Site Speed in WordPress? A Content Delivery Network CDN is a valuable technique for improving website speed. In this post, I will show you how you can improve site speed and set up your free self-hosted CDN with the help of the W3 Total Cache plugin. Most bloggers and developers developing a website in WordPress face website loading time issues. Some websites load very fast, and some do not. While developing and optimising my few sites, I found that my websites needed to load correctly due to many JS, CSS, HTML and Static Images issues.

How to improve site speed with self-hosted free CDN in WordPress
I know the same as many new developer-facing these types of problems and looking for free or paid services. Many Paid service providers are available for CDN services, and yes, they are outstanding in performance, like MAXCDN, Cloudfront, etc. However, you can check Cloudflare if your budget is low and you want free CDN service. Cloudflare is a perfect choice for a newbie. But today, I will show you something different about CDN, and It will help you create your content delivery network in your server and improve your website speed within a few seconds. Before this process, could you check your rate in GTMetrix and Pingdom first for better analysis?
Setup Free CDN to Improve Site Speed with W3 Total Cache Plugin
Set up free CDN and Improve site speed in WordPress with the help of the W3 total cache plugin. So First, Install W3 Total Cache Plugin and Follow the steps below to create your CDN.
Install W3 Total Cache Plugin -> General Setting, then Change CDN to Enable and CDN Type to Generic Mirror. Now you can go to CDN Option located in the Performance Tab and make changes, same as the below screenshot. Now we have almost done CDN Setting in W3 Total Cache. But before this final step, we do some settings in cpanel also. Could you open your hosting account or Cpanel and create a new sub-domain? You can assign any name per your requirement, like cdn.yoursite.com, static.yoursite.com etc.
After creating the new sub-domain, make some changes in DNS records. I am using IPage hosting for Techgiks to point this new sub-domain host to my main domain. Click on DNS Tab and point your sub-domain to the central part. But sometimes, there is some manual work in IPage, like moving a file from the main domain to the sub-domain, which is time-consuming but works fine. See the below Image. But If you are using another type of Cpanels like Hostgator and Inmotion Hosting, then Make some changes in the Advance DNS Setting section.
Open Advanced DNS Zone Editor and Select your primary domain. A list of all domains and sub-domain will appear. First, select your newly created sub-domain with or without “WWW“. Next, click on edit and change CNAME to “YOURDOMAIN.com”. That’s it. You have made a sub-domain; the sub-domain points to the main domain. Go to your WordPress admin panel again, open CDN settings in the performance tab, and Click Modify attachment URLs.
A popup will appear and show you the number of posts. Click start, and Now all your Images, CSS, and JS are serving from your new self-hosted CDN. Self-Hosted CDN is free and will improve site speed. Before CDN Techgiks, the loading time was 12 seconds, but it will reduce to 3 seconds after this setup. But make sure your sub-domain should be a cookie-free domain. If this post resolves your issue, share your comments with other viewers.
Finally, please explore for For classified Ads.
Click for Best Website Security Company.
